
MW4 DMZ Loadouts: Equipment and Preparation
Organize MW4 DMZ loadout preparation around available equipment, operator roles and the risk attached to bringing gear into a deployment.
A DMZ loadout belongs to an individual Active Duty Operator and persists between deployments. It covers a weapon, backpack, armour vest, medical items and support equipment. The Free Loadout option covers an empty stash. Gunsmith allows up to five attachments plus an Apex attachment, while weapons and attachments are bought with Cash. A failed run can cost the equipped gear, so value and durability matter more than a single “best” weapon.
Scope: Launch loadout scope, checked 23 October 2026. No tier list is claimed because the packet does not contain comparable weapon-test data.
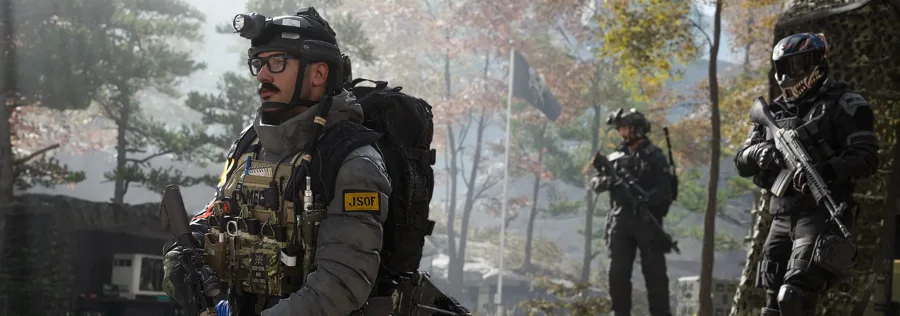
A loadout belongs to an Operator
The official deep dive describes each Active Duty Operator as having their own persistent backpack and loadout. Building a second Operator is therefore a way to prepare two different roles, not just a cosmetic switch.
When an Operator is lost, the kit is affected with them. The replacement or recovered Operator needs a new equipment pass, which is why the Stash and MIA systems are part of loadout planning.
What to prepare
| Item area | What the sources establish | Decision to make |
|---|---|---|
| Weapon and attachments | Five attachments plus an Apex attachment through Gunsmith | Is the upgrade worth the loss risk? |
| Armour vest | Protective gear is a meaningful slot | Tier and mobility preference |
| Backpack | Carry volume and Secure Slots are distinct benefits | Loot capacity versus protection |
| Medical | Med Kit, Bandages and self-revive support recovery | How much of the bag should be survival gear? |
| Mission item | Some objectives require carrying or retrieving something | Leave room before the final objective |
When to use the Free Loadout
The Free Loadout provides combat essentials when you have nothing to bring or do not want to risk the kit. It is a legitimate way to recover after a loss, run a low-cost reconnaissance deployment or learn a new area.
A free kit will not match a prepared high-tier loadout. Its value is reducing the cost of learning and giving the Stash time to recover after a bad run.
Gunsmith and Cash decisions
Weapons and attachments are purchased with Cash. The official overview says better gear costs more and that Weapon Manuals unlock direct purchasing after initial scavenging. Attachments can improve a weapon but also raise the amount of value exposed on a failed run.
Do not copy a creator’s fully upgraded build as a beginner default. Start with a weapon you can replace, then invest once the Cash and manual situation supports the risk. The Cash guide covers the budget side.
What happens to the kit if the run fails
Equipment carried into a failed deployment is at risk. The Operator may become MIA, while selected Traits and long-term progress can remain. Secure Slots can protect a limited set of finds, but they are not a full replacement for a lost loadout.
That is the practical reason to separate a “learning” kit from a “high-value” kit. If a weapon is the only copy you have, use it on a plan that includes a realistic extraction.
Common questions
How many attachments does a DMZ Gunsmith weapon use?
The official deep dive describes up to five attachments plus an Apex Attachment.
Should you always bring your best weapon?
No automatic rule is supported. A failed deployment risks the equipped gear, so bring the best kit you can afford to lose for the objective.
Sources and scope
This guide is editorial research based on published sources, not a first-hand playtest or official endorsement. Launch material was checked on .
Launch loadout scope, checked 23 October 2026. No tier list is claimed because the packet does not contain comparable weapon-test data.
- Official DMZ deep diveOfficial / store
- Official FOB guideOfficial / store
- Official MW4 DMZ overviewOfficial / store
- IGN: MW4 DMZ beginner guideReference